Bulk Advanced Mode
Learn how to create bulk high quality articles with silo links

Kathy
Last Update a year ago
Writing hundreds of articles has never been this easy. With this tool, you can generate up to 200 articles in less than 10 clicks!
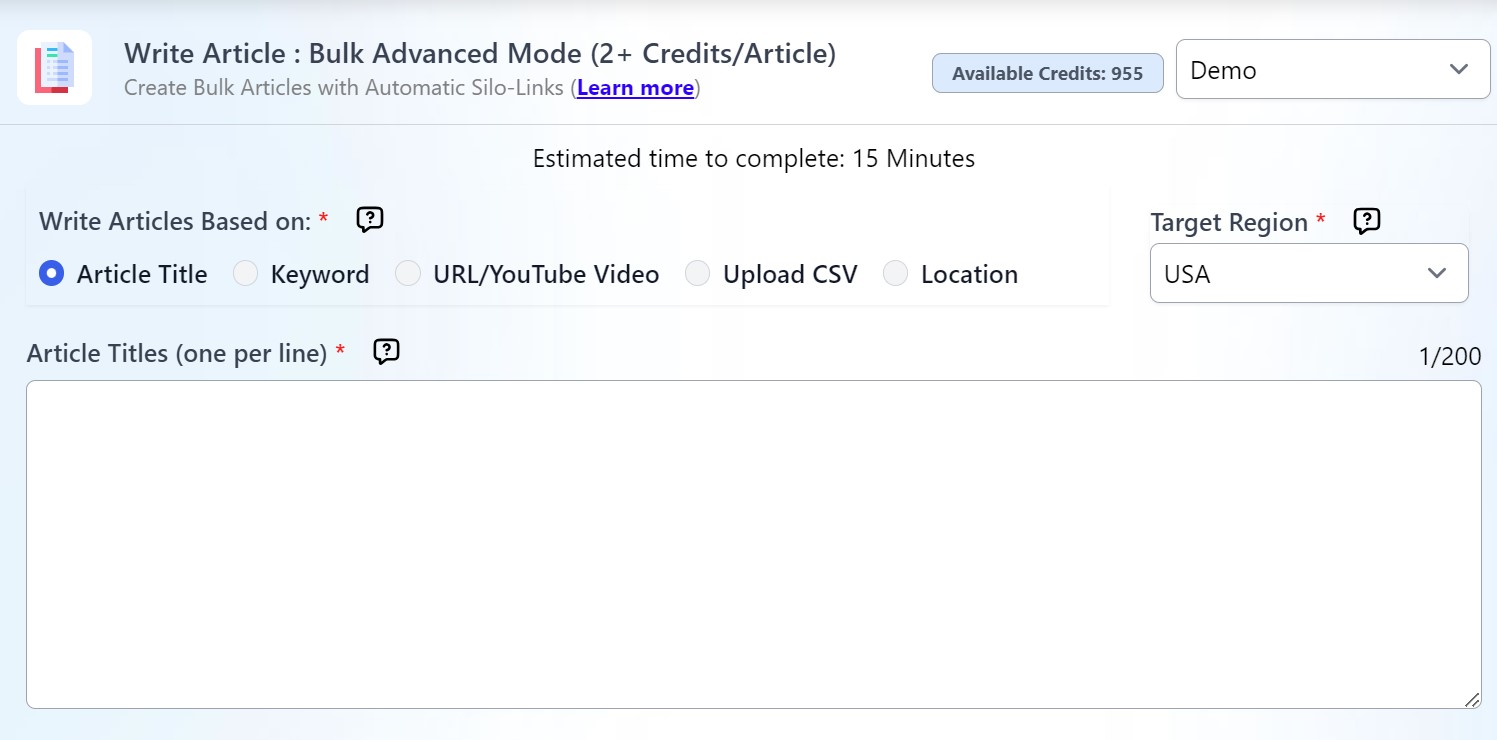
Step 1: Getting Started
- Article Title: Write articles based on the exact title.
- Keyword: Our system will crawl the top-ranking search results for the keyword and suggest the best article title that matches the search intent.
- URL/YouTube: Our system will crawl the URL or YouTube video (with transcript) and rewrite the content from the source. (* Adding Silo Links is not supported)
- Upload CSV: Set custom article outlines, keywords, and NeuronWriter Query ID for bulk writing.
- Location: Automatically create a list of location pages under a main location. Easily generate bulk location pages using a fixed template based on an outline. Ideal for Local SEO.
Step 2: Core Settings

Add Silo Links
Output Language
Advanced mode offers more than 15 output language options, including non-English such as Malay, Japanese, and Chinese.
Article Length
You can set this up manually and set it up to 5000 words. With Auto mode, the system can generate the most optimized number of headings (H2 & H3 headings) for your topic based on other similar articles online. You can also customize your generated outline after this result.
Article Structure
For more diverse-looking content with a mix of text, quote, bullets, and tables.
- Advanced (Standard) - The system will decide the article's length and format (text, long text, quote, bullet list, and maximum of 3 tables)
- Advanced (Detailed): Recommended for articles heavy on statistics and data. Otherwise, an Advanced (Standard) setting will do.
- Standard Text: All-text output, recommended for simple, personal blog posts.
- Long-text: For that highly informative, authoritative article.
AI Model
You may choose the Full GPT-4 Turbo for the highest quality results, but this will require extra 1-2 credits depending on the number of headings you choose.
If you select a foreign language, it is recommended to also choose the Full GPT-4 Turbo model.
- Standard (GPT 3.5/4) - Writes a standard GPT 3.5 model + GPT 4 (handling complex tasks and important headings)
- Full GPT-4 Turbo - Handle complex tasks and all headings using full GPT-4 model.
- Claude 3 Sonnet (Beta) - Similar performance with GPT-4 model, generate the final output using Claude API.
- Claude 3 Opus - the most powerful model from Claude.
Factual Data
This gives you the option to select your credible data sources or simply let the AI search from the top sources.
- Custom Factual Data - Enter up to 3 URLs and let the system crawl live data. You can also leave the Factual Data Source field empty and allow the system to pick from the top search results. The best option for data-driven articles.
- In-depth Research - Allow the system to find live data from academic publications, scholarly sources, and top authority sites. You can also enter up to 3 URLs as additional data sources. This option provides a comprehensive research data set for AI, with a complete list of references included (no in-text citations).
- In-depth Research + Cite - This feature works like In-Depth Research but includes in-text citations.
- Standard Factual Data – Crawl live factual data for every paragraph, ideal for articles that do not require a lot of numeric data.
Audience
Specify the group of people you want to talk to with your article. Examples: Homeowners, students, business owners, etc.
Tone of Voice
Let the system know the writing style or tone here. Example: professional, informal, educational, etc.
Point of View
Set the author’s point of view here.
Writing Style
This recently added feature allows you to personalize the article style further based on your niche. Among the choices are Conversational, journalistic, academic/technical, personal, and authoritative. Find out more details about different writing styles here.
You may also refer to this link for more information on how to customize your writing style.
Introduction Style
Choose from four introduction styles:
- Concise - write a short and concise introduction
- Engaging - write an interesting and more extended intro
- Authoritative (Authorship) - Engaging intro with the author's expertise to build credibility. Make sure to include the Author's background in the project settings
- Comprehensive Insight - Provides an in-depth understanding of the topic incorporating various perspectives.
Conclusion Style
Choose between a Concise, Engaging, or Expert Opinion conclusion for your article.
- Concise - write a short and concise conclusion
- Engaging - write an interesting and more extended conclusion
- Expert Opinion - conclude your article with a unique perspective from a fictional expert.
Readability Level
Select the readability level from 5th grade to 16th grade. While improving the readability score, note that it may shorten the article. The outcome depends on the AI model, niche, and writing style. Claude 3.5 Sonnet is particularly effective at matching reading levels. For a better chance of bypassing anti-AI detection tools, choose the 5th grade level.
Customize Outline
Step 3 - Advanced Settings
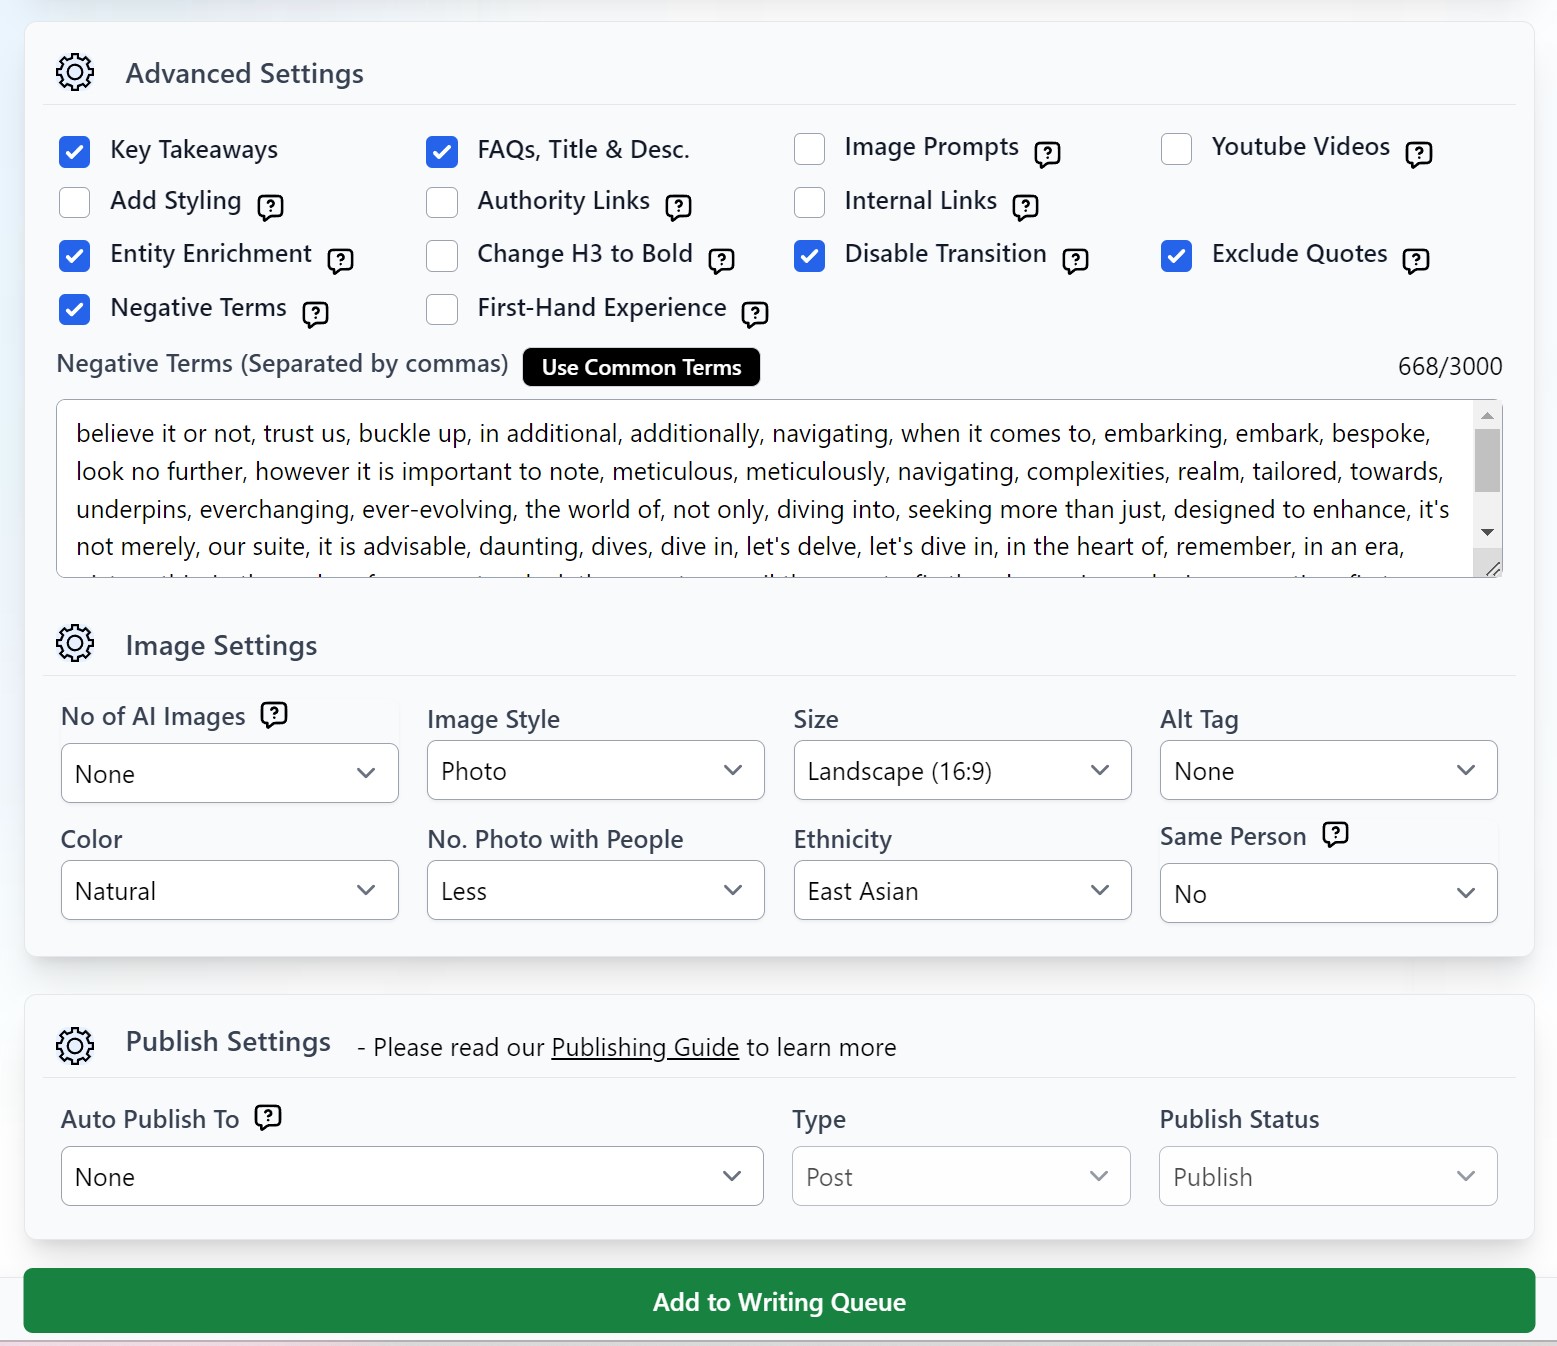
This is for your additional customization needs, although majority of the setting options can be already addressed in your core settings. Below are some of the options that you may find helpful:
1. Key Takeaways
Tick this option if you want to include quick summaries of your article.
2. FAQs, Meta Description, and Title
Need to use more keywords? Maximize your keywords by using them in your FAQs and meta description.
3. Image Prompts
Add image prompts for AI Images Creator.
4. YouTube Videos
Will automatically add YouTube videos in your first three headings (H2)
5. Add Styling
This will add bold style on important terms across the articles.
6. Authority Links
Auto-add up to 5 outbound authority links to high-domain authority links as part of the SEO optimization.
7. Internal Links
Enter your internal URL or any other custom link you want to be included in the article.
8. Entity Enrichment
Add entities and important terms from the top search results to increase entity density.
9. Change H3 to Bold
This is an easy way to create a neat article that does not have too many heading tags but still retains the outline you prepared.
10. Disabling Transition
If you tick this, our system will not generate transition sentences in between headings.
11. Exclude Quotes
Avoid including quotes in the article. By default, the system will automatically insert quotes with the Advanced article structure.
12. Negative Terms
Instruct AI to avoid specific negative terms, separating each word by commas.
13. First-Hand Experience
Incorporate personal insights and experience at various points in the article to enhance its Experience, Expertise, Authoritativeness, and Trustworthiness (E-E-A-T). First-person point of view and Full GPT-4 will generate the best results.
Step 5: Image Settings
Generated images will be hugely based on the content of your H2 and H3. You can check this link for more information on generating AI images.
Step 6: Publishing Settings
Select a site where you want to auto-publish your article to once it is completed. You may check the WordPress publishing Guide for more information.
Step 7: Add to Writing Queue
Click the "Add to Writing Queue" button to begin generating your article. The process may take between 15 to 20 minutes, depending on your specifications.
You have reached the end of the Bulk Advanced Mode! All that’s left to do now is to sit and wait for your article to be generated.